Mastering Prototype Development: Key Stages, Expert Tips, and FAQs
Have you ever played chess or heard of a player ‘being stuck at the same rating’ or in a ‘chess slump’? Well, in order to make headway, you have to play multiple openings until you have made progress. Prototype development follows a very similar game. At surface level, it is there to be used as a tool for visual progress as part of the steps in developing a prototype and how your product will ultimately look or survive.
Key Takeaways
- 5 essential stages of prototype development: build outline, list attributes, CAD design and 3D print prototype, test and get feedback, and manufacturing.
- Understanding the purpose of prototypes help with testing, identifying flaws, improvements, and alignment.
- Prototyping is ultimately about testing how well it functions and performs from the perspective of your target audience.
- Let your audience know what the prototype does, what it solves, and what your audience will see once it is presented.
- Include essential parts for prototype to test its functionality and performance.
5 Stages of Prototype Development
Whether you are building a simple model or fully functional prototype, understanding the five stages helps you plan effectively, reduce costly mistakes, and move closer to a product that resonates with your target market. Below, we will walk through the essential stages, each one bringing you a step closer to turning your vision into reality.
Stage 1: Set Foundation
Building a solid outline is incredibly important to set your prototype up for success amongst the market you’re targeting.
This stage of the prototyping process is almost like speed dating. You typically figure out your best traits by first having a solid understanding of what you personally like, dislike, and if that person will essentially fit into your environment. In this case, you should optimize why your product is so unique by educating yourself through various perspectives in the targeted industry.
You can mark down answers for pressing questions like:
- Does the product need to be simplified or is it for experienced users?
- How are my consumers managing currently without my product?
- Where do my consumers look to find similar market products?
- What aesthetics are my consumers usually appealing to?
- How much does my consumer spend daily, weekly, monthly, and or yearly in the targeted market?
Stage 2: Gather Requirements
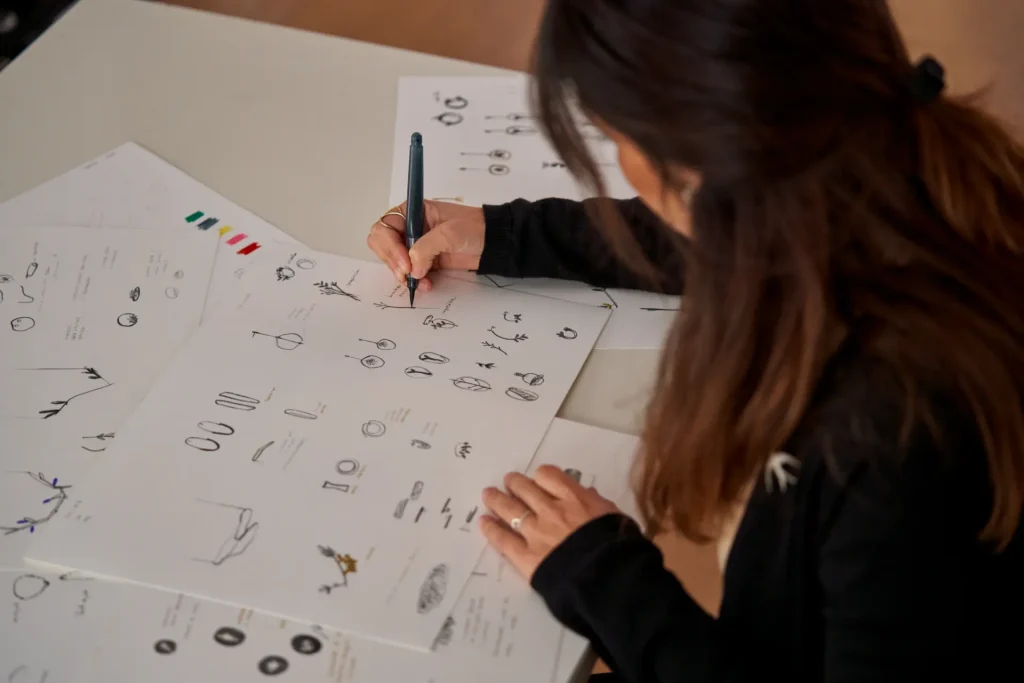
Before starting to build the prototype, it’s important to list all of the attributes, mechanisms, and details you want to see among the different versions of prototypes you plan to make. Sketching is a great way to clearly get down all your thoughts in a visually organized manner that not only allows you to take a step back and reassess your ideas and expectations but also helps the designer understand the direction you have for your product.
Sketch out ideas
Sometimes the invention ideas we have in our head seem rough and abstract, which is why sketching is a great way to make your ideas more concrete and realistic, thus allowing you to better understand what you want to achieve with your product. Sketching is also the most inexpensive way to visualize an idea, so you can begin exploring different development methods, structures, and purposes for your product.
After doing the research, it’s time to collaborate the market research with a low-fidelity(lo-fi) prototype.
Lo-fi prototypes or a wireframe is the chessboard you work off of. It’s created for the purpose of visualizing the data above into moves. This doesn’t have to be immersive, it’s simply illustrating the game plan. However, it does need to be informative enough that they have a clear picture of what it does.
You can then take your lo-fi prototype back to your circle of informants and consumers for further analysis regarding if it measures up to their expectations, what they would change, and the probability they would use it. This can be helpful before moving onto the next steps in developing a prototype.
Stage 3: Build Prototype
If you have partnered with the right team, you will be able to see your lo-fi archetype come to life via state-of-the-art 3D CAD technology and simulations. The purpose of this is to ensure the product prototype will be mathematically sound.
This is where your prototype design company steps in. Based on your previous versions, they can take your design and specifications and build a working 3D printed prototype. Your prototype will be ready for investment pitches, crowdfunding, testing, and everything in between.
Stage 4: Test and Get Feedback
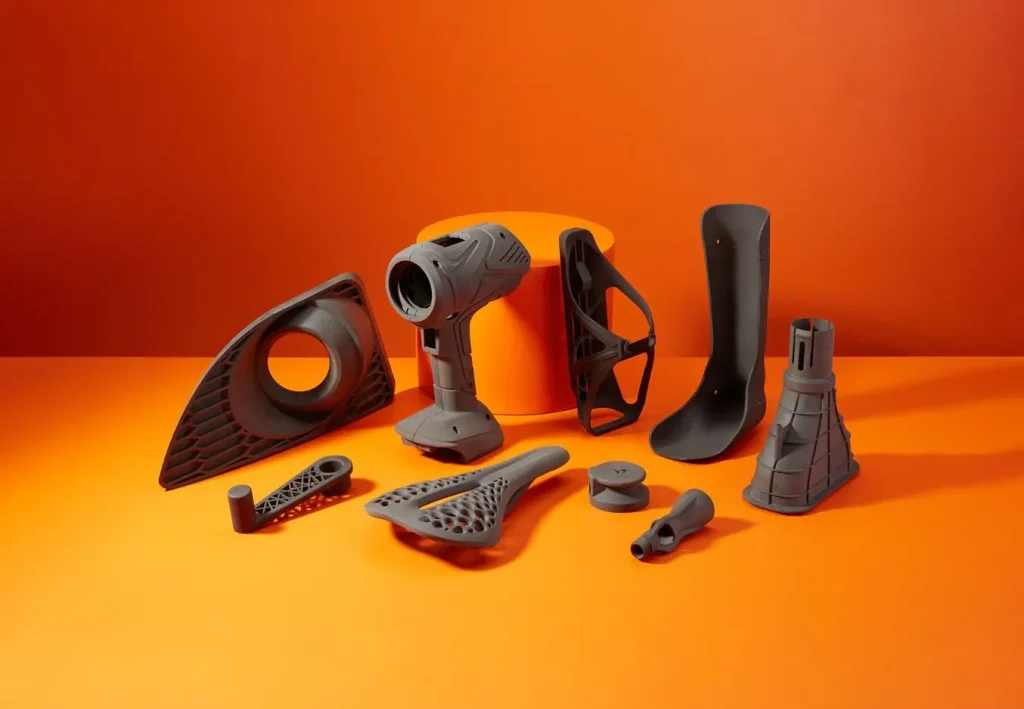
You won’t have just one prototype before you’re ready to pitch, manufacture or start your crowdfunding campaign. Much like the three prototype versions, you’re going to have a number of drafts of each one. The more you iterate on your sketch, DIY, or 3D print, the closer you’ll get to the final product without going over your budget. Always be adjusting, perfecting and realigning your design to make sure the product continues to align with your concept.
3D Printed Prototype Parts
At TriMech Design, we also like to use Smart MVP, a minimum viable product method for prototype product development.
This essentially means that we are focused on minimizing unnecessary time wasted, costs, and work by focusing on your prototype that functions well without disturbing the prototyping process steps. The sole purpose is to receive paramount feedback and tweaks from early adopters.
Stage 5: Manufacture
We are now entering the finalization stage of prototype product development, which means manufacturing comes into play. At this point, the product will be created based on the final prototype. You will not only be able to experience the full functionality of the product, but also gain confidence that it effectively serves the needs of the general public.
Additionally, you can move forward with licensing and fundraising.
Top Tips for Prototype Development
A common mistake that a lot of inventors and small business owners make is going into the prototyping stage with the idea that they will build an exact copy of their final product. However, prototypes are meant to serve other important purposes. Learn more from our experts with these prototyping tips:
1. Know Your Prototype’s Overall Function and Purpose
It is important for both designer and inventor to understand the purpose of creating a prototype. In some cases, developing a close replica of the final product is the best approach. However, in other situations, it may be more effective to begin with multiple prototypes that explore different aspects such as functionality, packaging, colour, details, and overall design.
Throughout our years of experience with invention design services, we know that understanding the purpose of your prototype will not only help when testing your prototype but can highlight design detail flaws and improvements and make sure that the engineer, designer, and inventor are all on the same page during the design process.
Prototype function
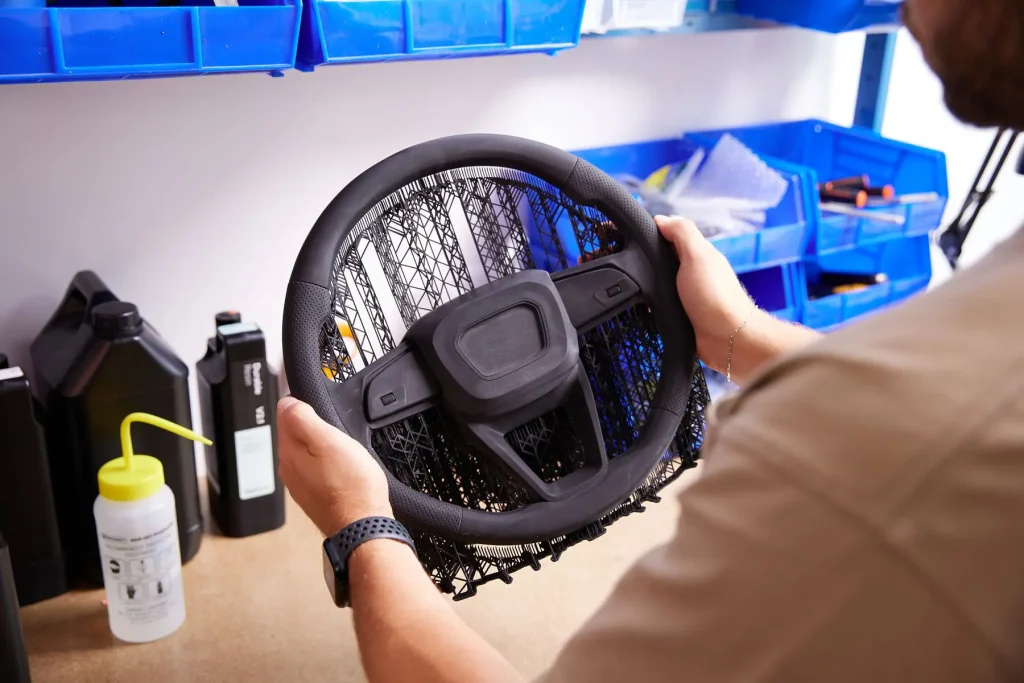
Functional prototypes and visual prototypes all serve different purposes, therefore it’s important that you go into building your prototype with a clear direction about what you want to test and see once the prototype is made.
2. Tailor Your Prototype to Your Audience
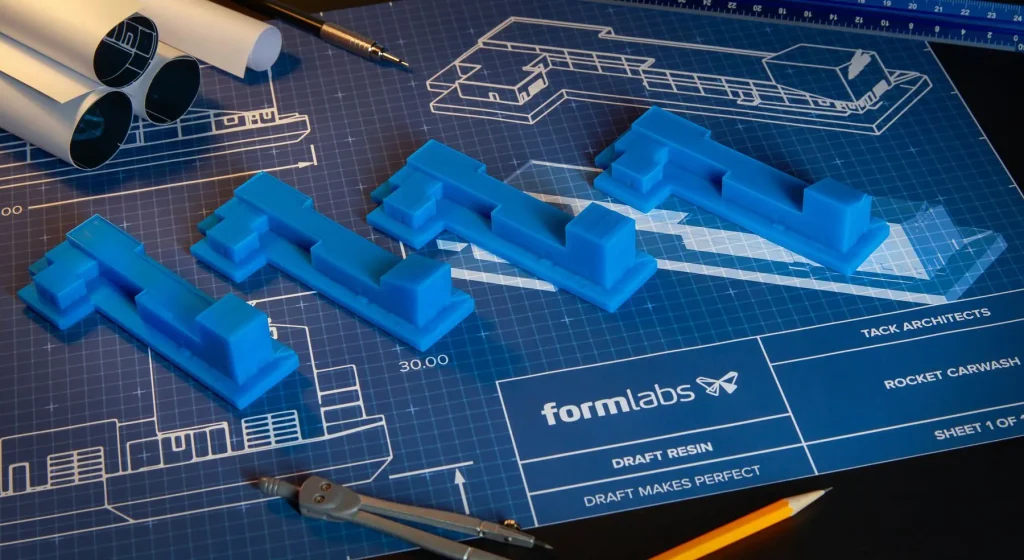
Preparing to create and reveal a prototype can be nerve-racking. The prototyping stage might require more than one prototype and several trials for each model in order to perfect the design.
It’s important to keep in mind that regardless of the final vision you have for your product’s appearance, prototyping is ultimately about testing how well it functions and performs from the perspective of your target audience.
Design the initial prototype with the user’s needs and approach heavily in mind, as they will ultimately be the ones to test out your final prototype.
Prototype versions
This means making sure that the prototype is simple and easy to use and clearly shows what it is trying to accomplish or solve for your target consumer. In this way, they will be able to physically test your prototype, and you will get more accurate feedback on the performance rather than just how it looks, making it easier to go back and make the requisite adjustments to improve its functionality.
3. Prime Your Audience
When you release a prototype, it’s important to let your audience know what to expect! Prototyping is all about testing your product and getting a sense of how your envisioned idea will work in real life. This means the promises you make to your audience will be assessed following your prototype reveal.
Let your audience know what the prototype does, what it solves, and what your audience will see once it is presented. This not only provides them with an accurate understanding of what your prototype is supposed to do, but it ensures the expectations of your audience are at an appropriate level that doesn’t set themselves, or yourself, up for disappointment.
Remind them that the prototype is not the final model and will be improved upon. Also, make sure to ask for specific, constructive criticism that allows you to learn what features your product is lacking or what areas could be improved in terms of efficiency or efficacy.
4. Prototype Only the Necessities
When creating your product, it’s always best to take things slow and be thorough in order to minimize mistakes and avoid hindering the design process.
Reaching the prototyping stage is exciting. However, it should still be approached in a methodological manner. Inventors often attempt to complete much more than they can handle at one time.
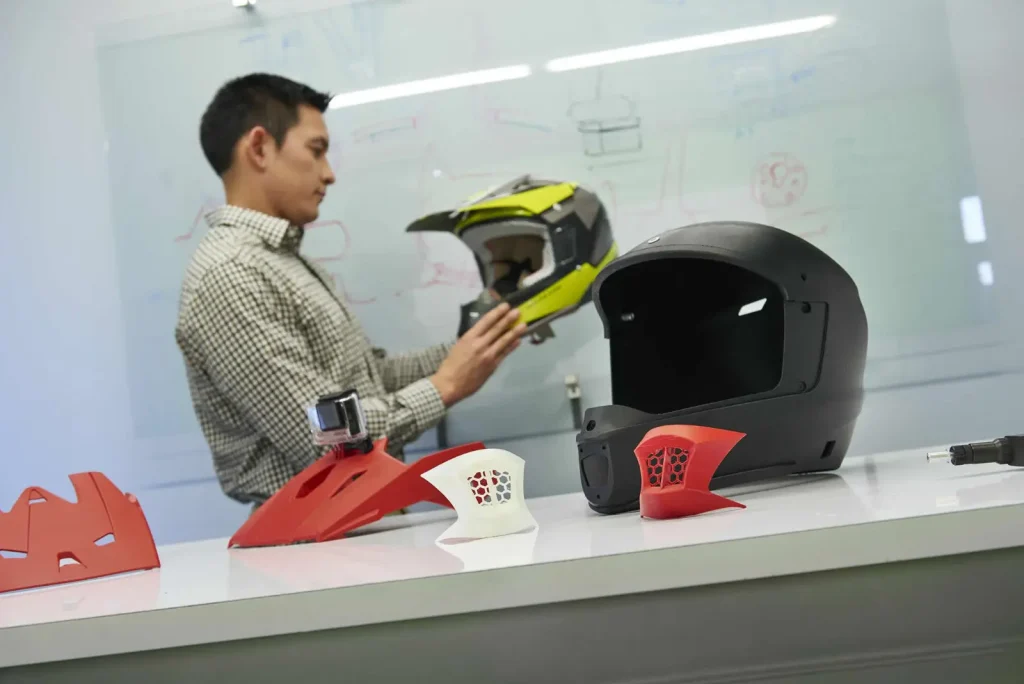
Smart MVP
An effective way inventors can approach prototyping strategically is to include ONLY essential parts for their first prototype to test its functionality and performance. If they want to add details or refine the look of their prototype, it is better to tackle those parts later after they’ve proven and optimized their product’s functional abilities.
To learn more about product prototypes, read our blog article Understanding Product Prototypes.
Frequently Asked Questions
Have questions about prototype development? You are not alone. Here are some of the most common questions we hear from inventors, entrepreneurs, and product developers.
1. What are the stages of prototype development?
There are three main phases that summarize the comprehensive details of prototype product development:
- The Alpha Phase: This is the foundation stage. You will develop your concept through how the product will be functioning and stylistic attributes. It includes the concept of the product and use of appearance materials.
- The Beta Phase: Here you will have the opportunity to see how your product will operate through the prototype(s). But first, you will be making adjustments to improve the life of your product design. It can include placing testing feedback into effect and reviewing trails and errors that can be useful for developing the final product. Again, it’s incredibly important to seek a market and inventor trusted team like MAKO.
- The Pilot Phase: At this stage, your product is ready for takeoff! Yes, it is still considered a prototype based on quality approvals and finalizing the testing. However, you still have the ability to sell your product with the manufacturing methods being used.
2. How long does it take to complete the stages of prototype development?
Ideally, it should be a month or two. The approximate time will be given to you according to your specific steps in developing a prototype. Contact TriMech Design Solutions today to book your consultation.
3. What happens after prototype development?
Once your team has confirmed the prototype is a testament to the design, you’re ready to present the final prototype to investors. You will also possibly be furthering the discussion on marketing strategies, so you can set your product up for success during the launch period.
4. Where can I get a prototype made?
TriMech operates in-house and we are here to listen, so you can turn your idea into a product design that has potential to disrupt the market for years to come. Plus, we offer opportunities to connect with leading players in the hardware start-up industry.
Final Notes
In conclusion, reaching the final stages of prototype development isn’t just about solving technical challenges, it’s also shaped by the various starting points you choose to explore and the strategic goals you set for your invention’s future. At times, progressing forward requires more than just troubleshooting on your own. It calls for expert insight and collaboration.
TriMech develops your ideas and coaches you throughout the steps in developing a prototype during the start of the match, or should I say product refining, to evolve during the middlegame too. It’s unfortunate that not all products reach the endgame, which is why we have spent over 25 years claiming check-mate for all of our clients.
Product Design Experts related to this content:
Wade Harmidy, Manager, Product Development
Wade Harmidy is an experienced operations and project management professional with over 10 years in manufacturing and pharmaceutical sectors
