Essential Guide to Prototype Manufacturing for Hardware Startups
Startups are becoming the leaders of new hardware development, which requires a test version of the product, the prototype to accelerate decision-making, validation, and funding. Prototype manufacturing is one of the most critical steps of product development, allowing designers and engineers to periodically test assumptions and suggestions made during the design phase, to see if they stand up to real world conditions for usability, functionality and practicality. Most successful product development programs are marked by several rounds of ever improving prototypes that point the way to the final product.
This guide covers the key steps of prototype production, the methods and materials, as well as expert tips to help startups smoothly proceed to the next stage of product development.
Key Takeaways
- Prototypes are used for identifying and fixing design flaws, gathering user feedback, and making improvements.
- 3 key factors to consider when developing a product prototype: purpose, methods, materials.
- 3 key phrases of prototyping: Build and evaluate multiple rough prototypes, Micro-prototyping towards final product functionality, Fine tune pre-production prototype to convince manufacturers and investors
- 4 methods for prototyping: 3D printing, CNC machining, urethane casting, and soft goods.
- Consider manufacturing impacts early in the prototype design stage and bring in manufacturers early in the prototyping stage.
What is Prototype Production?
Prototype production or development is the process of creating an initial, early version of a product, often called a prototype, to test and evaluate its design, functionality, performance, before moving to the next phase of a project.
Prototypes can be produced as early as the concept phase to confirm early ideas and help to confirm feasibility or as late as pre-production to ensure that all the details of a final product are ready before committing to the expense of production. This includes identifying and fixing design flaws, gathering user feedback, and making improvements. As such, physical prototypes in various forms may provide excellent evaluation data, whether it’s for mechanism, ergonomics, physical integration, or even evaluation of user trends and perceptions.
Prototyping vs Production Manufacturing
Typically, prototyping produces only a small number of units (1-100 units). Materials could be similar to those used in full production, and the finish of the product could resemble the final product, depending upon the goal of the prototype. Prototypes may be very cheap and simple or relatively expensive as a one-off functioning version of the product, depending on the goal of the prototype.
In contrast, production manufacturing creates finalized products in large-scale for commercial sale. Production runs often involve thousands of units and use tooling and production methods that may reach millions of dollars to produce.
Changes to the design at this stage are rare and expensive, so the product must be validated and finalized before production begins.
Why Prototyping is Important for Hardware Startups
The primary purpose of prototyping is to validate the idea or design being proposed for the current product development phase, before moving to the next phase of the development. This is done so that every phase is built on the successful completion of the previous phase. In most cases, only a physical prototype could help test the function and feasibility of a proposed solution that involves hardware components. Through prototyping, product developers can uncover issues and flaws earlier and ultimately reduce the time and cost of product development.
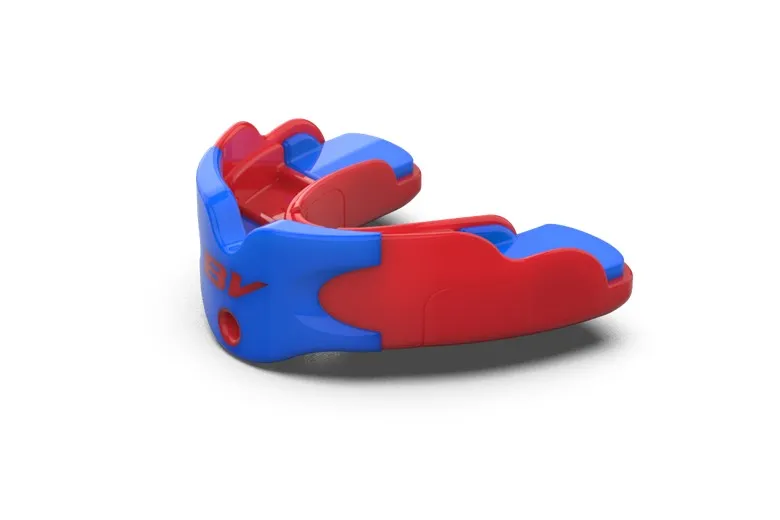
A good example of why prototypes are key to design engineering and how they can effectively help a product development team to resolve complex geometric, usability and function challenges, is the Brain Vault mouthguard product. Due to the complex nature of the product, including compatibility with human mouth structure, materials technology and bio mechanical testing to validate the claims of the product, several rounds of prototyping were needed to ensure a successful outcome for the project.
In addition to design validation, hardware startups also need tangible models to build credibility and improve presentation for investors.
Inventors and startups often tend to underestimate the value of prototyping, by focusing on the cost and not understanding the goal and the reward of committing fully to a prototyping phase. This can lead to missed opportunities and problems down the line as challenges that could have been identified or solved using a prototype become evident during more expensive phases of development. Sometimes requiring abandonment of the concept and a return to an earlier point to solve the problem.
Steps to Develop a Product Prototype
1. Understand purpose of the prototype
The most important question that many inventors and startups fail to ask at the beginning of a prototype phase is “What is the goal of this prototype?”. To many, this may seem like a silly and perhaps even obvious question. But it is easy to miss the point of a prototype.
For instance, the requirement of a prototype may simply be to test the working of a hinge mechanism to confirm that it would be strong enough or function as expected. Were this to be the only question in need of answer, the simplest solution would be to prototype only those parts pertaining to the hinge mechanism. So answering the question and reducing the cost of the prototype to the MVP (Minimum viable product) or the least costly option.
In some cases, additional questions need to be answered and for those reasons, more complex and complete prototypes may be needed. But by keeping the goal in mind the prototype can be used to its full effect.
Different kinds of prototype can be identified and some of the most common terms are listed below:
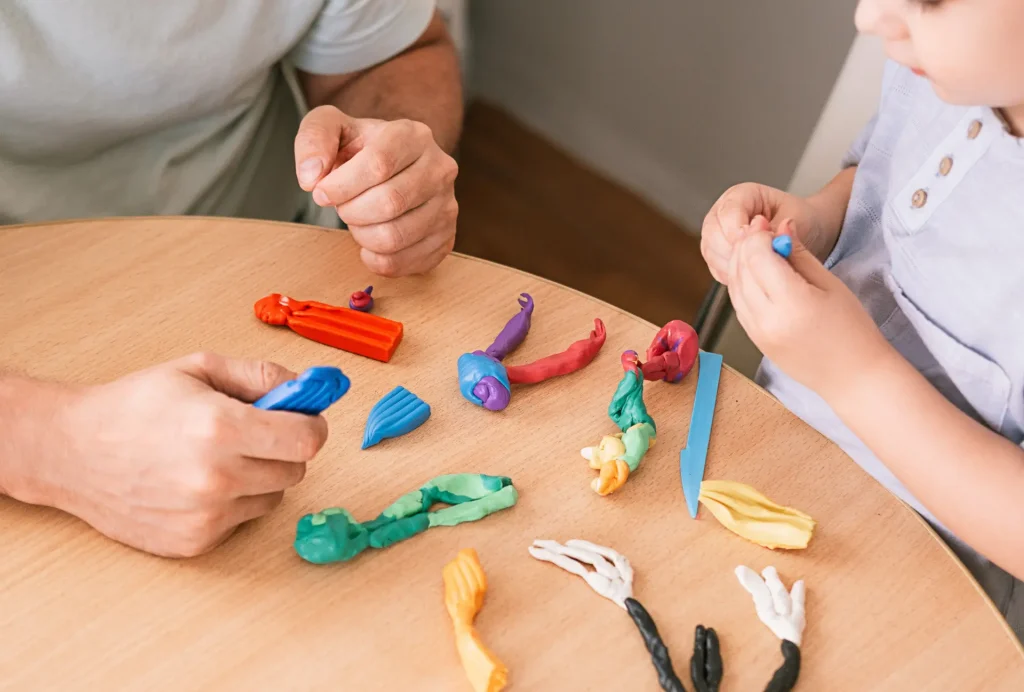
- Concept validation prototype: a basic representation of the initial idea, often only intended to represent a spatial “envelope” for the design or even the environment that the design is intended for. It can be as simple as scaled sketches on a wall or floor, cardboard models, or rough 3D prints.
- Functional prototype: Functional prototypes are as described “Functional”. They are absolutely not intended to represent anything but the operation of the product or an aspect of the proposed concept. The intent of the prototype may be to test whether the size and position of a handlebar is ergonomically correct, or a mechanism works as planned. Other functional testing could include the testing of heat dissipation methods for cooling, before committing to a product form factor or even validating that a required chemical reaction produces the desired effect in a given scenario.
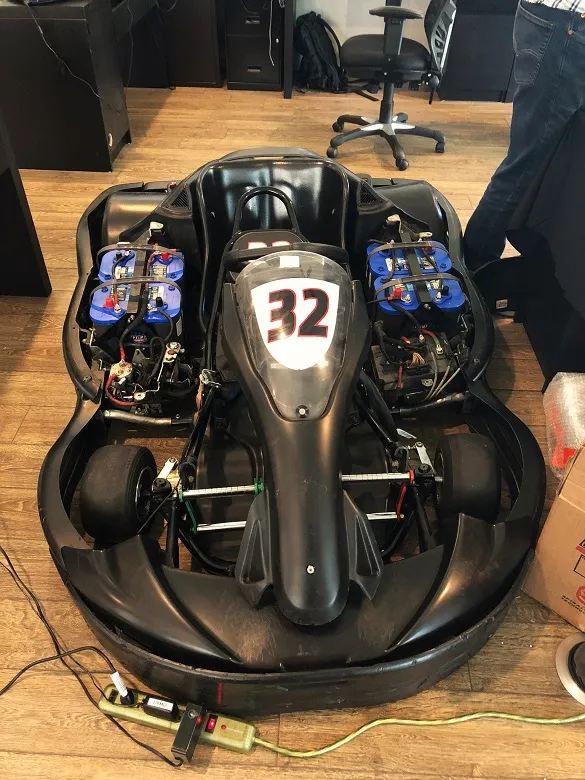
The electrical components of a miniature racecar prototype are tested by TriMech Design to ensure optimal functionality.
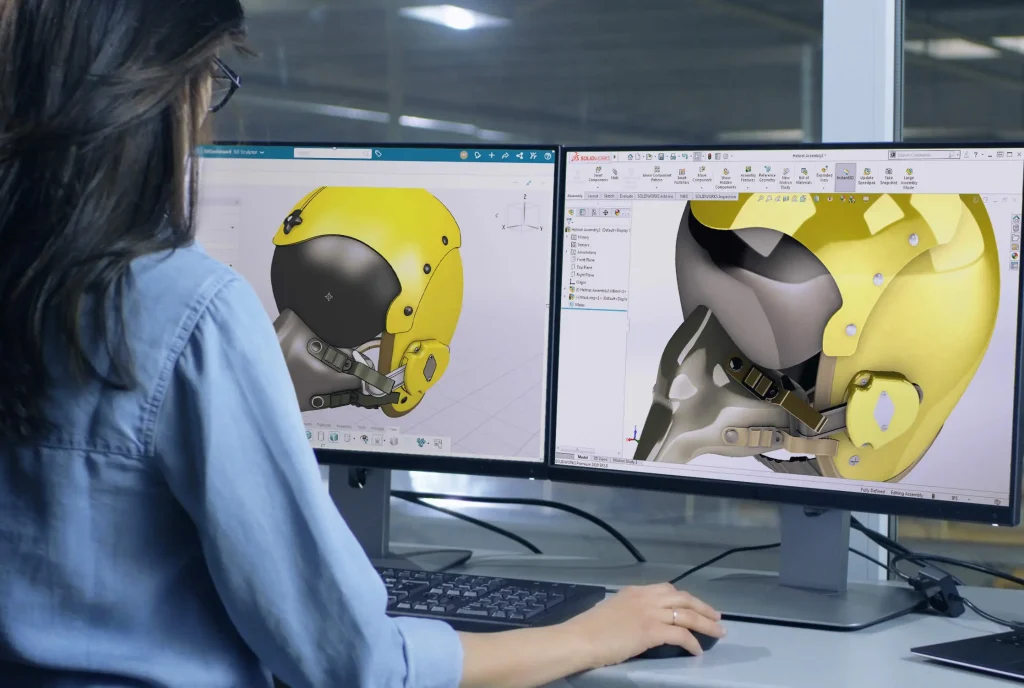
- Visual prototype/Model: Visual prototypes are high-fidelity prototypes that are close to the final product in appearance. It does not necessarily need to function fully but is used to show what the final product might look and feel like. It’s used to communicate form and aesthetics. It focuses on the appearance, size, and ergonomic aspects of the product. For example, a 3D printed model of a smartphone with detailed surface finishing, but no electronics inside.
- Pre-production prototype: This prototype would most often be produced shortly before committing to tooling and production when the design is considered “locked” and complete. Parts are often CNC machined or 3D printed from materials that closely relate to the final production materials and form, finish and function are all evaluated to confirm that nothing has been missed before production is entered.
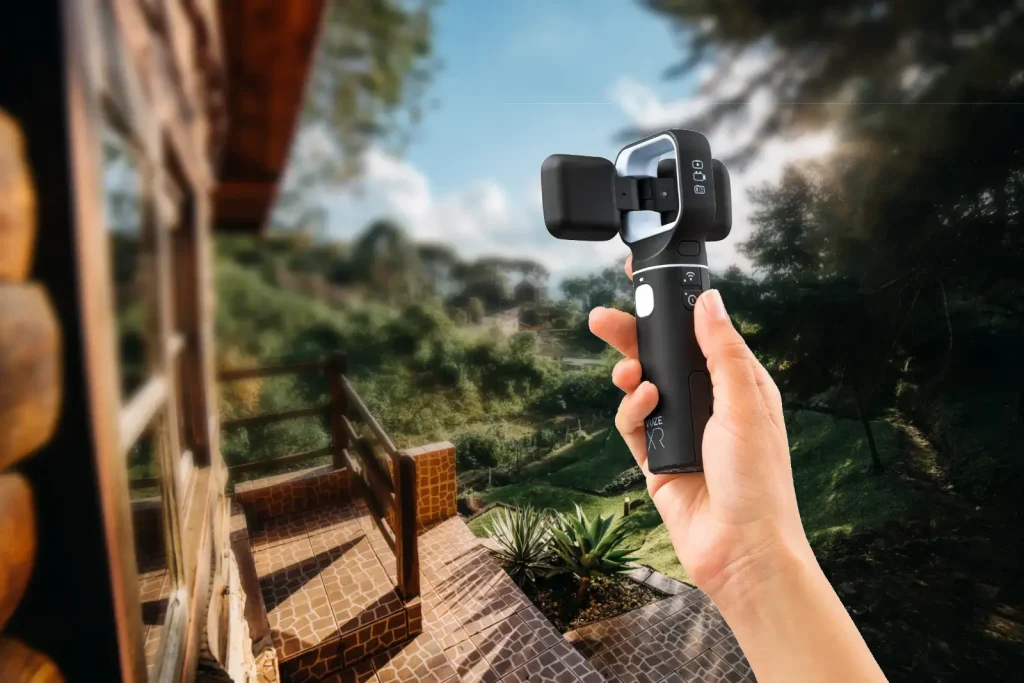
High-fidelity prototype
- First article prototype or sample: This prototype is essentially produced as part of the production process as a first off-tool sample of the product. Depending on the finishes and complexity of the product, this prototype may not be fully visually complete and may in fact consist of a few rounds of sample parts being produced. These prototype/sample parts are used to fine-tune manufacturing processes and ensure quality standards are met before mass production.
2. Choose the right prototyping methods
In general, the more refined the prototype’s purpose, the more realistic and production-like the manufacturing method needs to be. Early stages call for low-cost, rapid methods; later stages require more precise, often production-level approaches.
There are four common methods of prototype manufacturing that fit with different types of prototypes:
Method 1: 3D Printing
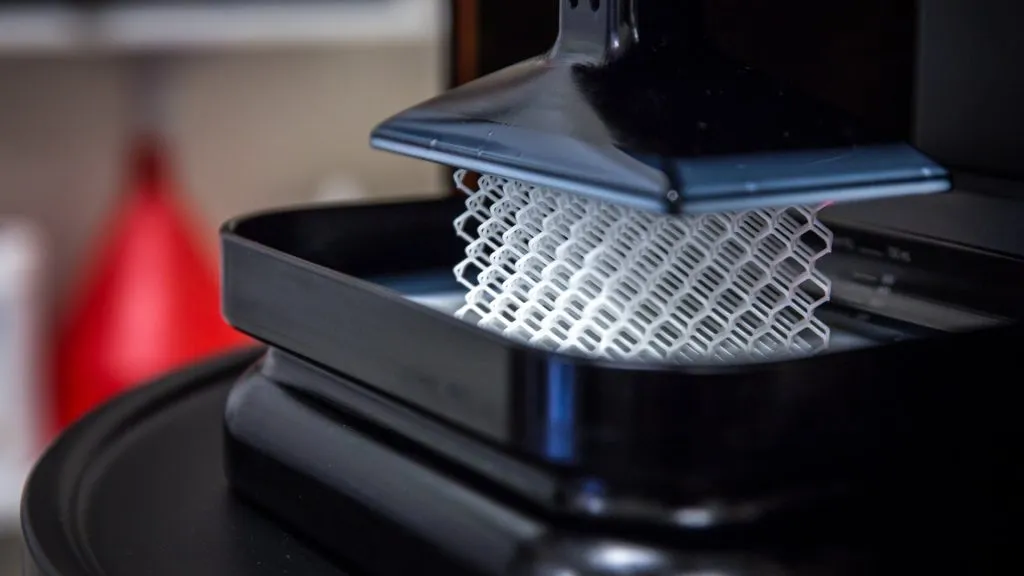
3D Printing, also known as additive manufacturing, has been so rapidly evolving that different techniques of 3D printing can suit different applications in prototyping and short-run production. In general, it allows more design freedom, rapid iteration, and material efficiency compared to other prototyping methods.
However, the versatility of 3D printing can also cause a conundrum where evaluation of components is concerned. Due to its particular ability to add material only where it is needed, the 3D printing process is capable of building parts that are technically impossible to produce by legacy production processes, and unless the difference is noted during the design phase and especially the DFM phase, this could result in parts that are wholly dependent on 3D printing as a production process.
Although the process is capable of producing relatively large volumes of parts, it is not currently capable of scaling up to the level of output of traditional injection and other molding processes.
Method 2: CNC Machining
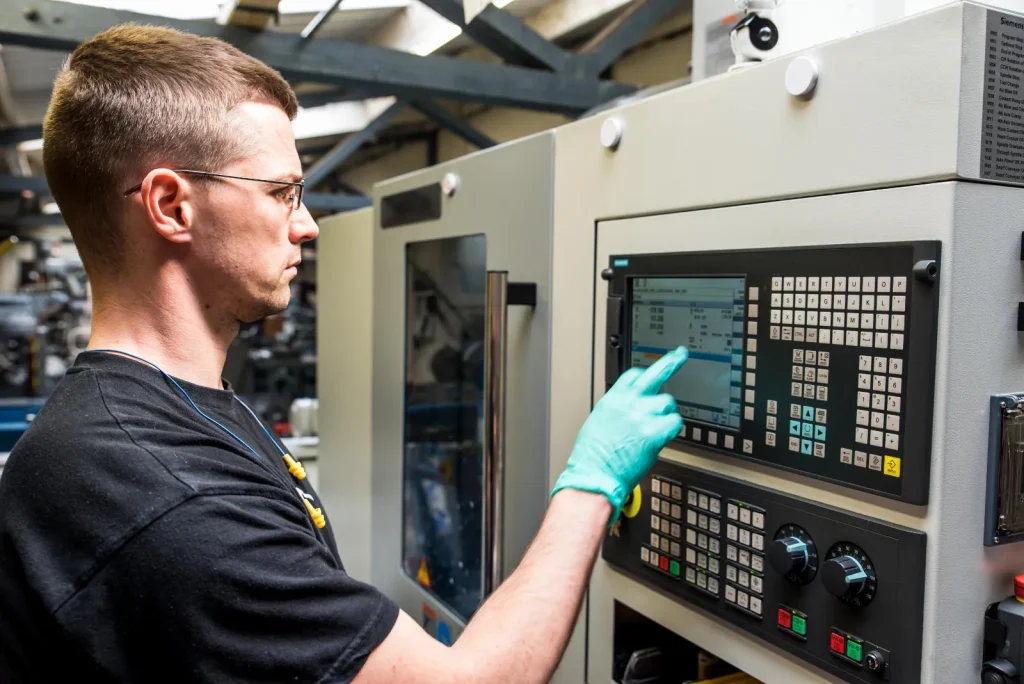
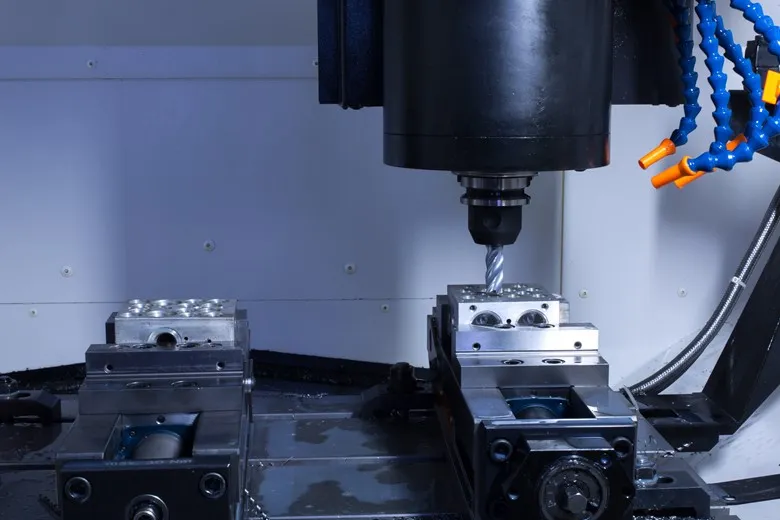
As a subtractive method, CNC machining is usually a bit more expensive than typical additive (3D printing) processes. However, it can produce production-grade plastics and metals with high accuracy and strength, suitable for functional, durable prototypes.
In a similar way to 3D printing though, CNC machining is also capable of producing parts that could be difficult or impossible to produce using traditional injection and other molding techniques, and so a good understanding of what is being evaluated and how a part may potentially need to change in order to be molded is needed when using this method for prototyping.
CNC may also be used as a production process that can be scaled to produce high quantities of product, dependent on the complexity of the part being produced.
Method 3: Urethane Casting
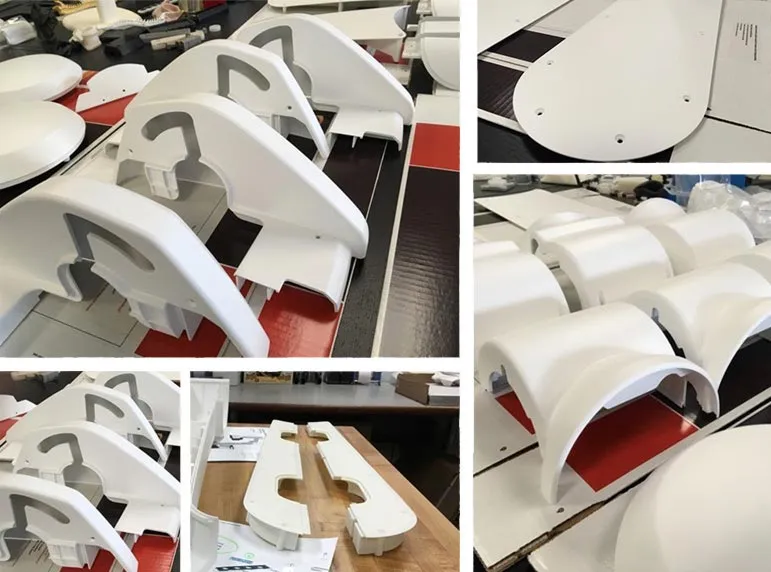
Urethane casting, much like injection molding, delivers detailed, durable prototypes through a comparable process. However, instead of metal molds, it uses plastic molds, which makes it quicker and more affordable to start. The trade-off is lower production volume, as these molds wear out much faster than metal ones.
It’s often used for low-volume (20-50 units), high-fidelity prototypes that allow testing with near-injection-molded mechanical properties. It also fits well when you want to solve multiple problems altogether: price point, clear parts, cosmetics/repeatable texture, color matching (with cast-in color), repeatability, and advanced materials.
Method 4: Soft Goods
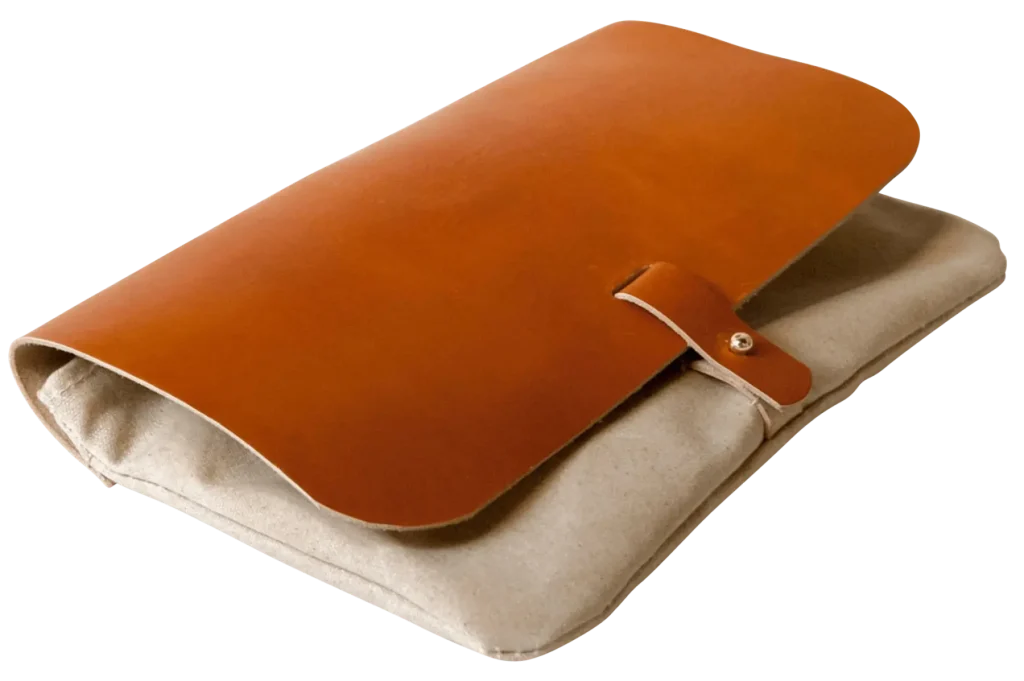
3D printing, CNC and Urethane casting make up most of the prototypes we build. However, there is a fourth process that we can’t neglect – Soft Goods, which allows products such as bag, backpack, or clamshell carry case to be produced in a scalable, sustainable way.
Soft goods are produced by skilled seamsters using all kinds of fabric, traditional sewing machines and thermoforming materials, such as TPE which can easily be prototyped using resin or wood molds to produce one-off samples. This process requires a good understanding of sewing techniques and production practices.
3. Choose the right material for your prototype
The best material depends on your prototype’s purpose, prototyping method, product’s final material, and what properties you’re testing at that stage. There are four common questions to ask before nailing down the material for your prototypes:
Q1: What are the prototypes for?
- If the prototype is for early concept, then speed and cost dominate, and material should be easy to work with and good for verifying size, ergonomics, and aesthetic design. Common choices are PLA, ABS via 3D printing.
- If it’s for functional testing, then structural and manufacturing feasibility matters, and material should mimic final product’s actual user feel, weight, and impact resistance.
- If it’s for pre-production, use materials that closely match the final production ones, offering a realistic feel and meeting regulatory requirements.
Q2: What properties are needed?
To make sure the prototype performs like the final product, it’s important to select a material that meets the functional requirements, which includes considering a range of material properties.
Below are some of the 3D printing materials with different properties:
- Strength & durability: Carbon fiber-reinforced material, ABS, Aluminum, Nylon,
- Flexibility: TPU, TPC, TPA, Flexibile PLA, etc.
- Chemical resistance: PEKK, ULTEM, ABS-M30, ASA, TPU 92A, etc.
- Heat resistance: ULTEM, Nylon 12CF, Somos PerFORM, 3955 FST, etc.
- Biocompatibility: ULTEM, ABS-M30, Vero, MED, etc.
- Colorfulness: VeroUltra, etc.
- Transparency: VeroVivid, etc.
Q3: What prototyping method are you using?
Different prototyping methods affect mechanical properties and finish, influence cost, speed, and part performance, and determine what materials are usable.
- 3D Printing: PLA, ABS, TPU, Nylon, resin, metal
- CNC Machining: metals, plastics
- Urethane Casting: Polyurethane resins (rigid & flexible)
Q4: Does the material need to resemble the final production material?
Knowing how realistic and relevant the prototype needs to be helps understand when to invest in the same material in production. You also need to make sure that test results are meaningful and accurate, and the prototype reflects the real user experience when necessary.
For example, if your final product is made of polycarbonate, testing with a brittle material like SLA may cause false failures in functional testing. A game controller prototype in rubbery resin won’t feel the same as a production-grade ABS or PC shell.
This question also helps you plan to scale production. Prototyping with a similar material gives insight into manufacturability, material behavior in tooling, and post-processing compatibility. This will help avoid surprises when transitioning to mass production.
3 Key Phases for Prototype Manufacturing
For hardware startups with limited resources, it’s essential to have a smart prototyping process as a strategy to lower the cost and improve efficiency.
Below are our 3 key phases of prototype manufacturing that can help minimize risk while ironing out all details during the process.
Phase 1: Build and evaluate multiple rough prototypes
Treat this as the base layer of a development pyramid. The goal here is to quickly and affordably validate your concept and design assumptions. Before diving into material choices or detailed technical specs, focus on the core elements—overall dimensions, form, and basic ergonomic functionality
Oftentimes you’ll need to build a series of rough prototypes or prototype parts to test multiple elements at the same time.
Be strategic to start with the big picture and work your way up. Building and changing the rough prototypes rapidly can help you achieve the most appropriate form, dimension, or geometry that you need.
Phase 2: Micro-prototyping towards final product functionality
It’s time to drill it down to see the mechanical functionality and the manufacturability. You now need a functional/mechanical prototype to truly start testing.
While it can be a full prototype, it’s often more practical to test specific aspects of the product, such as potential mechanical risks, material properties, or design elements where the geometry is still uncertain.
We can break it down to smaller pieces, allowing each part to be tested individually for function and geometry. These prototype parts, often referred to as “micro” or “sub-prototypes”, can be developed either in tandem or linearly.
Phase 3: Fine tune pre-production prototype to convince manufacturers and investors
A refined prototype has been created based on insights from the mechanical prototype. The primary differences between this version and the final product are aesthetics and fine-detail adjustments needed to perfect the design. This is also the point where all manufacturing-ready details must be finalized to ensure a smooth transition into production.
This involves refining each component to suit the chosen production method and materials. For example, if injection molding has been selected, specific concerns must be addressed to ensure the parts are easy to mold and release from the mold. This step can be quite complex, particularly when the design involves geometries more intricate than simple right angles.
Top Tips for Prototype Manufacturing
Consider manufacturing impacts early in the prototype design stage
When designing your prototype, aligning design decisions with the intended manufacturing method is important for early-stage products planning smaller production runs, such as 500–1000 units through platforms like Kickstarter. Your design choices should expect 3D printing instead of injection molding as the production method. Designing for injection molding is very different from designing for additive manufacturing (DFAM).
Adopting a DFAM mindset early on helps startups increase design flexibility, accelerate production timelines, and reduce manufacturing costs.
Bring in manufacturers early in the prototyping stage
When planning mass production, there are all kinds of restrictions on what you can manufacture. Thus, identifying potential manufacturing constraints early on is essential. By involving manufacturers early in the prototyping stage, you can be better positioned to transition smoothly into manufacturing.
TriMech Design has been going one step further. As we go into the mechanical prototype stage, we incorporate our in-house manufacturing and engineering expertise, and input from external manufacturing partners as well to review critical components.
This Design for Manufacturability (DFM) mindset and collaborative approach ensure that by the time we reach the pre-production prototyping stage, all design details are finalized, necessary testing is complete, and we can transition smoothly into manufacturing.
Conclusion
Moving from early concepts to pre-production is a labor and cost-intensive process that involves many decisions. TriMech Design has comprehensive in-house prototyping abilities from 3D visualization to fabrication, from DFM to DFAM, and over 25 years of experience of taking on multi-disciplinary projects involving hardware and electronics.
Connect with our experts to bring your idea to life.
FAQ
How long does it take to get a prototype made?
The time involved typically is directly related to the goal of the prototype, accuracy required, and size of the prototype.
Simple 3D printed parts can be produced withing days as long as the required CAD design is available and viable printing machines are ready to run. Larger prototypes can require weeks or even months to produce as a result.
Reducing prototype production time can be achieved by applying the appropriate processes for the given scenario and emphasizing the MVP (Minimum Viable Product) where it comes to evaluation, so that effort is not wasted on details that may be out of scope for the product.
How much does a prototype cost?
The cost of a prototype is directly related to the goal, accuracy, and size of the prototype required.
For instance, prototyping a simple door-stop wedge using a 3D printer to evaluate geometry and general function would cost a fraction compared to prototyping a fully functional electronic device to be used for certification testing.
However, the best approach to minimizing cost is to understand the processes involved or to work with a trusted knowledgeable team that can guide the process for the best results.
How to find the right prototype manufacturing company for my hardware prototype?
While it is true that the ubiquitous FDM printers have become much more affordable and available to the public, the reality is that there is a big difference between being able to 3D print an object, and actual product development.
The first question to ask when looking for a “Prototyping Company” would be “what is my goal?” and next, “what do I need the sample part for?”. This will quickly allow one to filter through the myriads of options where the selection process, material, and price-point are involved.
Most importantly, if the need for finding a “Prototyping Company” is that you are developing a product of any sort, bear in mind that the prototype is almost never the goal, but merely the waypoint, meant to guide you to the greater end-result of production success.
Have a Product Idea?
Discover our product development services tailored to startups, small manufacturers, and inventors.
Design Newsletter
Get the latest news curated for designers, makers and inventors.
Product Design Experts related to this content:
Discover our team of designers, engineers, project managers, and problem-solvers.
Tim Uys, Lead Designer
Tim Uys is an industrial designer with over thirty years of experience in international product development, for clients ranging from fortune 50 corporations to small startups and individual inventors
More from our Blog
The Manufacturing Process: What is Tooling?
Most people have a rough understanding of what product manufacturing is, but what is tooling? This term is thrown around casually in our industry but...
4 Famous Innovations You Didn’t Know Were Accidents
Though inventions are often purposely designed and created, many of the world’s most famous innovations were actually accidental. Some of the most successful items and…
Five Different Types of Prototypes Your Startup Should Make
Prototyping is a key part of product development. We break down the five types of prototypes your design firm could help you make!
Need help with your Product Idea?
Tell us about your invention or product design idea and get the help you need design, build and bring it to market


